A brief guide to using subtitles & closed captions online
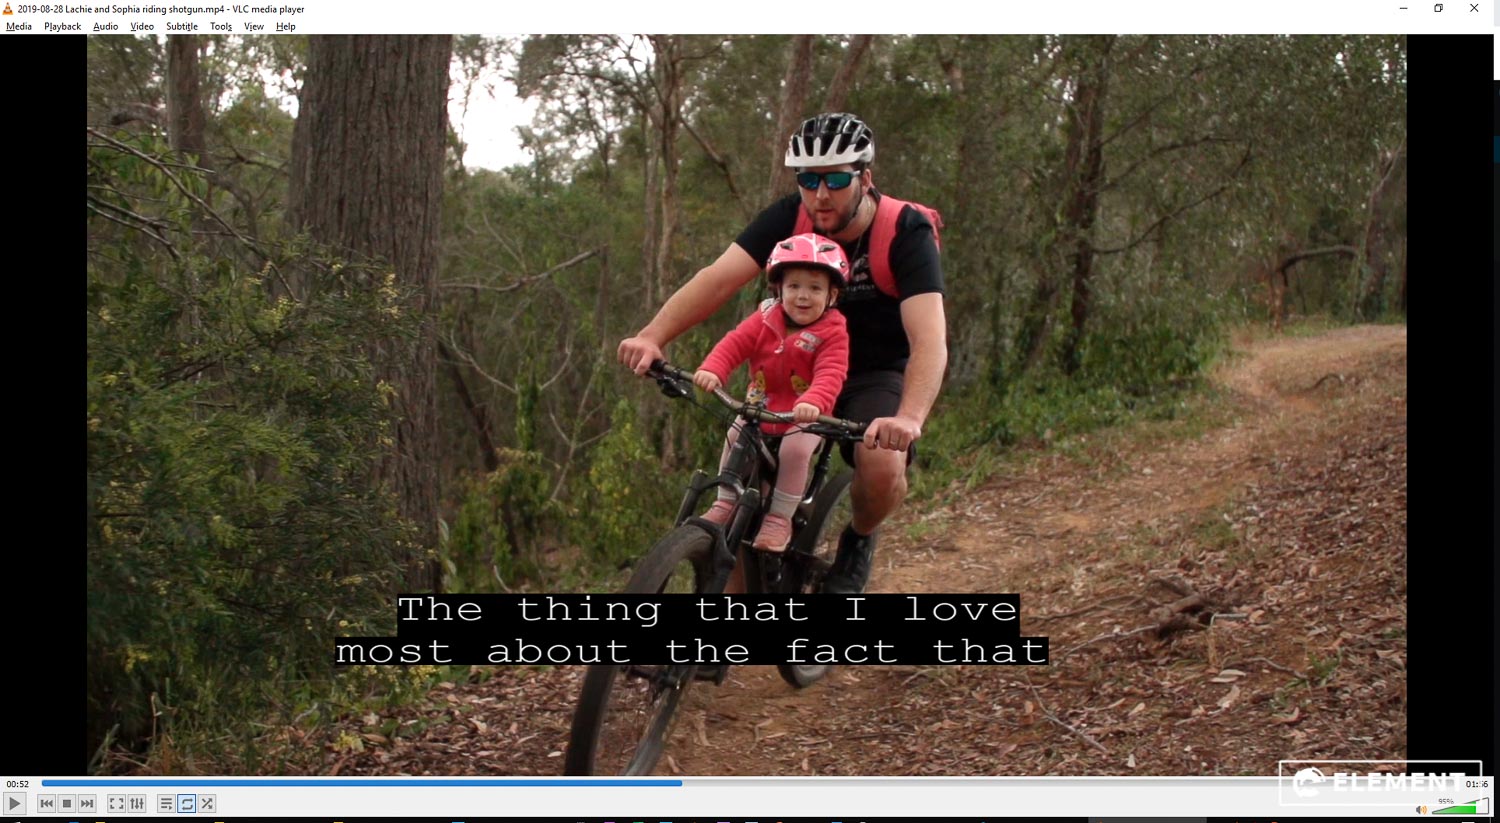
Hi there! Here’s a quick excerpt from our handy client guide about adding subtitles/closed captions to videos. Enjoy!
Who is Element?
We are leaders in high impact photography and video production for a range of clients across South East Queensland and beyond.
Our clients include a range of organisations within the sports, outdoor education, corporate, government and non-profit sectors. Learn More.
Closed Captioning/Subtitles – Information for Clients
Element can provide you with subtitle captions for your videos – whether you want them embedded into the video itself (ie. they are etched into the video and cannot be turned off), or as a separate ‘caption file’ such as .SRT for Youtube or Facebook (these can be turned on/off by the viewer).
Of course, we can easily provide both versions for you as you may wish to upload a ‘clean’ video (no etched in subtitles) to Youtube and a subtitled video (etched in) to Facebook.
Why the two versions?
Because on Facebook, for example, 90% of video content is watched on mute and unfortunately, caption files (.SRT) are not turned ON in a mobile news-feed by default. In other words, unless your captions are etched into the video, the viewer will not see them and will continue scrolling past your content! On Youtube, by nature of the app/website, it’s probably best to leave this decision up to the viewer and upload a clean file instead.
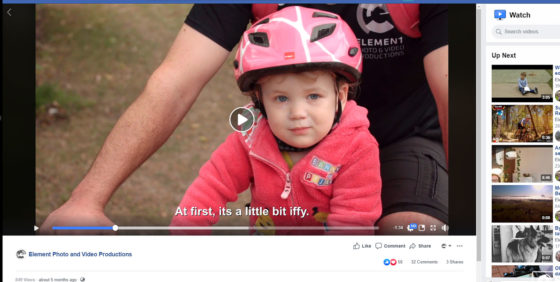
Tip: With embedded captions, you can engage more people on Facebook.
Creating subtitles
Creating the subtitles originally is the hard part, as someone has to manually transcribe it (you can try Youtube’s built in auto-caption software, but it’s not perfect). The other option that we use regularly at Element, is to send it to a captioning company such as Rev.com who will caption and send back a subtitle file (.SRT) fairly quickly. Rev offer faster turnarounds and/or multiple languages if required. The prices are pretty cheap to get the videos transcribed; you’re paying a fee of roughly $2 per minute, and of course it’s smarter to caption the edited video than all of the original footage to save on costs.
Working with subtitles
On our end there’s a little extra work involved, such as the export and upload of the video to Rev, manipulating the SRT file into our editing software to work with it afterwards, watching back the video to proof any errors or misspellings of names and so on (remembering that your content may be relatively foreign to the Rev person who is captioning the video).
Once the subtitles are created and brought into our editing software (and proofed), they can be exported into different formats for ease of use. Within the software that we use (Vegas Pro) we can easily:
• Export the SRT file for Youtube/Facebook
• Export the captions as a .txt file, which you can then use in written form for a blog or captions/comments
• Turn the captions into text clips on our Vegas Pro timeline and then export the video with subtitles ‘etched’ into it
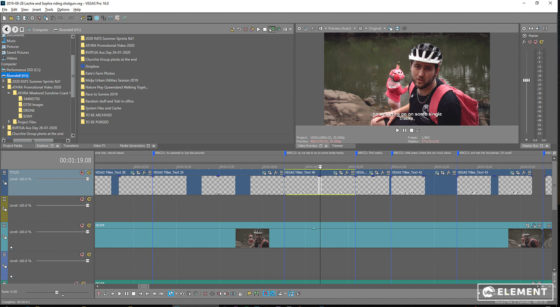
Working with captions in Vegas Pro. The blue markers indicate captions throughout the video.
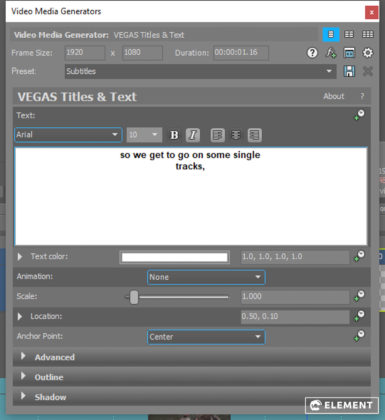
We can auto-create text clips in Vegas Pro using the subtitle markers, ready to embed into your video.
Sharing the videos online – on your end
Our recommendation is to upload the etched-in subtitled video to Facebook and/or Instagram, to ensure that you engage with potential viewers in a newsfeed. Of course, this isn’t necessary and instead you can upload a clean video and then include/upload captions as a .SRT file to Facebook when uploading the video (or you can upload the captions later on by returning to Video Manager).
The naming convention of the .SRT file for Facebook is a little more complex – it must be labelled the same as the original video file, but with a language and country code added. It will end up looking like the following:
filename.[language code]_[country code].srt
For English, you would use en_US (English – US)
So a video file titled ‘My Promotional Video.mp4’ would have a .SRT caption titled ‘My Promotional Video.en_US.srt’

An example of an SRT file format.
Youtube
In Youtube, you would look for the Closed Captions/Subtitles section within the video manager. There you can upload your SRT file, with any naming format.
Instagram TV + Facebook Upload
Another useful tip is to upload to Instagram TV (from your desktop or laptop – yay) by heading to instagram.com and clicking on your profile, then IGTV. By uploading to Instagram TV, you can use a video longer than 90 seconds (as opposed to posting to your Instagram feed). Plus you have the option to connect your Facebook page when uploading, which means the video will post to 2 places at the same time.
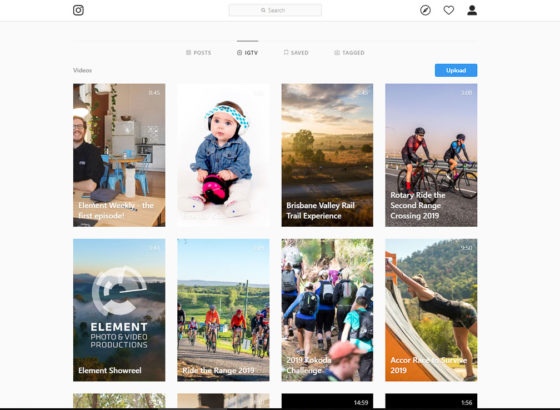
Upload through Instagram TV to share direct to Facebook.!
We hope that helps. Add a comment below if you have any questions or tips.
You can visit our Instagram, Youtube or Facebook pages for more from our team.
And last but not least, here’s an example of the captioned file on Facebook:
